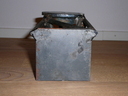
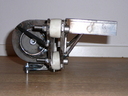
| [1f26] experimental_console_1.jpg |
 |
| Experimental console, top view
| |
| [1f27] experimental_console_2.jpg |
 |
| Experimental console, bottom view
| |
| [1f28] experimental_console_3.jpg |
 |
| Experimental console, side view
| |
| [1f29] experimental_console_4.jpg |
 |
| Experimental console, front view
| |
| [1f2a] experimental_console_5.jpg |
 |
| Experimental console, rear view
| |
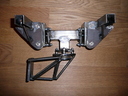
| [1f2b] experimental_console_6.jpg |
 |
| Experimental console, overall view
| |
| [1f2c] experimental_console_7.jpg |
 |
| Experimental console, overall view
| |
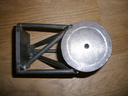
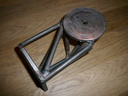
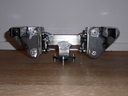
| [1f2d] holder_1.jpg |
 |
| Plazmatron holder top view
| |
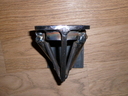
| [1f2e] holder_2.jpg |
 |
| Plazmatron holder bottm view
| |
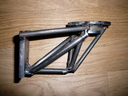
| [1f2f] holder_3.jpg |
 |
| Plazmatron holder side view
| |
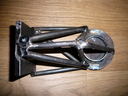
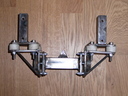
| [1f30] holder_4.jpg |
 |
| Plazmatron holder front view
| |
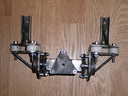
| [1f31] holder_7.jpg |
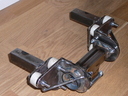 |
| Plazmatron holder overall view
| |
| [1f32] holder_8.jpg |
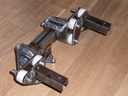 |
| Plazmatron holder overall view
| |
| [1f33] holder_console_1.jpg |
 |
| Plazmatron on experimental console, front view
| |
| [1f34] holder_console_2.jpg |
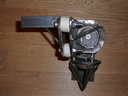 |
| Plazmatron on experimental console, side view
| |
| [1f35] joint_detail_1.jpg |
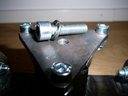 |
| Plazmatron joint detail
| |
| [1f36] joint_detail_2.jpg |
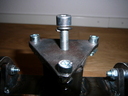 |
| Plazmatron joint detail
| |
| [1f37] tools.jpg |
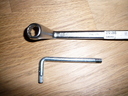 |
| Tools required for aiming
| |
